
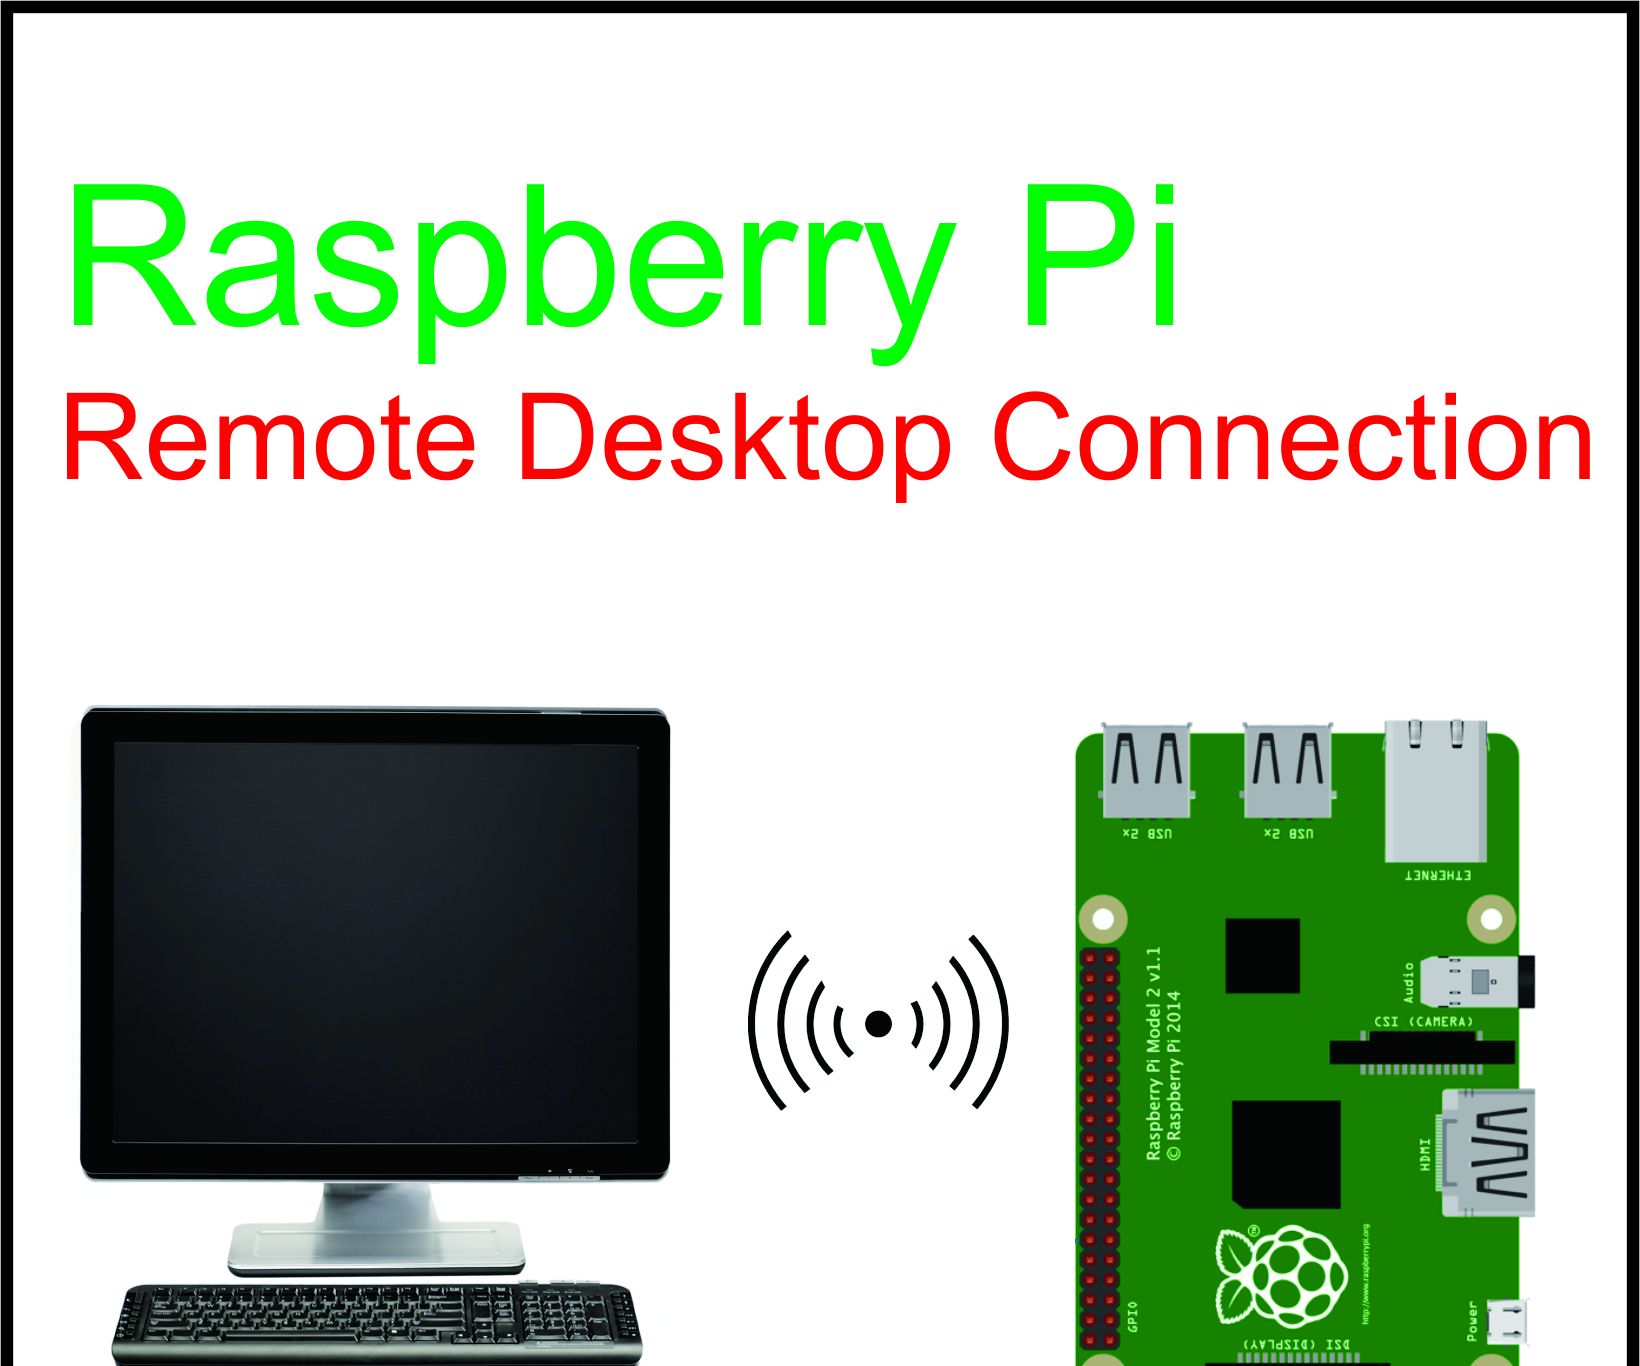
Getting your small computers, like a Raspberry Pi, talking to a private part of the internet, a VPC, from far away, all while keeping things safe and without spending a dime, might seem like a tricky puzzle to solve, but it's really something many folks are looking into these days. This kind of setup lets your tiny devices do some pretty big jobs, like gathering information or controlling things, and it keeps their communication private and protected. It's about bringing the power of the cloud closer to your physical stuff, in a way that makes sense for your projects.
You know, it's almost like having a secret, direct line between your little computer out in the world and your secure network back home, so that no one else can listen in or mess with what your devices are doing. This kind of secure connection is super important for things that collect sensitive data or control important systems, where any kind of interference could cause real problems. It's about building a trusted path for your IoT gadgets, actually.
So, whether you're thinking about smart home gadgets, industrial sensors, or just a fun personal project, figuring out how to connect remote IoT VPC Raspberry Pi free is a very useful skill. It helps you keep your data safe and your operations running smoothly, giving you peace of mind that your little computers are doing their work without any unwelcome visitors. It's a smart way to get things done, honestly.
Table of Contents
- Why Connect Your Raspberry Pi to a VPC?
- Keeping Your IoT Devices Securely Connected
- What Does It Mean to Securely Connect Remote IoT VPC Raspberry Pi Free?
- How Do You Set Up a Free Secure Connection for Your Raspberry Pi?
- Picking the Right Tools for Your Free Secure IoT Connection
- Making Sure Your Raspberry Pi Stays Securely Connected
- Common Questions About Connecting Your Raspberry Pi to a VPC
- What Are the Best Practices for Securely Connecting Remote IoT VPC Raspberry Pi Free?
Why Connect Your Raspberry Pi to a VPC?
You might be wondering why anyone would want to go through the trouble of linking a small computer, like a Raspberry Pi, to a virtual private cloud, or VPC. Well, it's a pretty good question, and the answer has a lot to do with keeping your digital stuff safe and sound. When your little devices are out there gathering information or doing jobs, they often send data back and forth. If that information travels over the open internet, it's a bit like sending a postcard; anyone who gets their hands on it can read what's written. A VPC changes that entirely, you know.
Connecting your Pi to a VPC creates a kind of private, walled-off section of the internet just for your devices. This means the information your Raspberry Pi sends and receives stays within your own special area, far away from prying eyes. It's a big step up in how safe your data can be. Think of it as having a secret conversation in a soundproof room, rather than shouting your thoughts across a busy street, which is a bit like what an open internet connection feels like, sometimes.
Beyond just keeping things private, a VPC gives you a lot more say over what your devices can do and who they can talk to. You can set up rules that decide exactly which other computers or services your Raspberry Pi is allowed to communicate with. This kind of fine-tuned control helps prevent unwanted connections and makes it much harder for someone to sneak into your system. It's about creating a really tight security perimeter around your little machines, so.
For projects that deal with sensitive information, like health data or financial records, or for systems that control important machinery, this level of isolation is super important. It helps make sure that only the right people and the right systems are interacting with your devices. This way, you can trust that your remote IoT devices are doing their work without any unexpected interruptions or data leaks, which is very reassuring, honestly.
Keeping Your IoT Devices Securely Connected
The whole point of connecting your Raspberry Pi to a VPC is to keep it safe, plain and simple. Imagine your small device is like a little guard dog, watching over something important. If that dog isn't in a fenced yard, it might wander off or get into trouble. An open connection for an IoT device is a bit like that; it's out there, exposed to all sorts of digital dangers. This is where the idea of securely connect remote IoT VPC Raspberry Pi free comes into its own, you know.
Without a secure link, your Raspberry Pi could become a target for people with bad intentions. They might try to steal the information it collects, or even worse, take control of the device itself. If someone gets control of your Pi, they could use it to cause problems for your other systems, or even for other people on the internet. It's a pretty serious concern for anyone putting devices out there, which is why we talk about security so much, you know.
By putting your Raspberry Pi inside a VPC, you're essentially giving it that fenced yard. It can still do its job, but it's protected from the outside world. This helps prevent many common digital attacks and makes it much harder for someone to find your device in the first place. It’s about building a strong defense around your little computer, making sure it can do its work without being bothered, so.
This approach helps keep your data private and makes sure your devices continue to do what they're supposed to do, without any unwanted interference. It's a fundamental step in making sure your IoT projects are not just functional, but also safe for everyone involved. This is especially true when you consider how many small devices are now out in the world, doing all sorts of jobs, and how important it is that they stay safe, too.
What Does It Mean to Securely Connect Remote IoT VPC Raspberry Pi Free?
Let's break down what we mean when we talk about wanting to securely connect remote IoT VPC Raspberry Pi free. First off, a "VPC" stands for Virtual Private Cloud. Think of it as your own private section of a big data center in the sky. It's a place where you can set up your own networks, servers, and other digital bits, all separate from everyone else's. It's like having your own apartment in a large building, where you control who comes in and out of your space, you know.
"Remote IoT" refers to those small devices, like your Raspberry Pi, that are out in the real world, far away from your main computer or office. These could be sensors in a garden, cameras watching a distant location, or little controllers in a factory. They're "things" that are connected to the "internet" and doing jobs from a distance. The "remote" part just means they're not sitting right next to you, which is pretty common for these sorts of gadgets, so.
Now, "securely connect" means creating a protected pathway between your remote Raspberry Pi and your private cloud space. This usually involves using special ways to send information, like a virtual private network, or VPN, which scrambles your data so only the right people can read it. It's about making sure that no one can snoop on what your Pi is sending or receiving, and that only authorized devices can talk to your private cloud. This is a very important part of the whole picture, honestly.
And finally, "free" means doing all of this without having to pay for expensive software or services. This is often possible by using free-to-use software tools, like certain VPN programs, and by taking advantage of the "free tiers" offered by some cloud service providers. Many big cloud companies let you use a small amount of their services without charge, which is perfect for getting started with your personal projects or testing out ideas. It's a way to get a lot of value without opening your wallet, which is pretty neat, if you ask me.
How Do You Set Up a Free Secure Connection for Your Raspberry Pi?
Setting up a free, secure connection for your Raspberry Pi to a VPC involves a few general steps, and it's not as hard as it might sound at first. The main idea is to create a kind of "tunnel" between your Pi and your private cloud space. This tunnel makes it look like your Raspberry Pi is actually inside your VPC, even if it's physically far away. This is how you securely connect remote IoT VPC Raspberry Pi free, in a way, you know.
One common approach uses what's called a VPN client on your Raspberry Pi. You'd set up a VPN server inside your VPC, which might be a small virtual computer running there. Then, your Raspberry Pi runs a little program that connects to that VPN server. Once connected, all the information your Pi sends and receives goes through that encrypted tunnel, keeping it private and safe. There are many free and open-source VPN software options available that work really well for this, so.
Another way involves setting up a secure shell, or SSH, tunnel. This is a bit simpler for some folks, especially if you're just sending commands or small bits of data. You can set up your Raspberry Pi to automatically create an SSH connection to a computer inside your VPC. This connection can then act as a secure pathway for your data. It's a pretty flexible method for certain kinds of tasks, and it's built into most Linux systems, which Raspberry Pi runs, too.
For the "free" part, you'll want to look at cloud providers that offer a free usage tier. Many big names in cloud computing have plans that let you run a small virtual computer for a year or even indefinitely without charge. This virtual computer can then act as your VPN server or the endpoint for your SSH tunnel. Pairing these free cloud resources with free open-source software is the key to getting this whole setup working without any cost, which is very handy, honestly.
Picking the Right Tools for Your Free Secure IoT Connection
When you're looking to securely connect remote IoT VPC Raspberry Pi free, choosing the right tools is a pretty important step. You want software that does the job well, doesn't use up too many of your Pi's resources, and is easy enough for you to get working. There are many options out there, but focusing on those that are free and have good community support can make things a lot smoother, you know.
For VPNs, programs like OpenVPN or WireGuard are very popular choices. OpenVPN has been around for a long time and is known for being very secure and flexible. WireGuard is newer, often faster, and simpler to set up for many people. Both of these are free to use and have lots of guides and helpful communities online, which is great if you get stuck. You'll install a piece of this software on your Raspberry Pi and another piece on your virtual computer in the VPC, so.
If you're leaning towards SSH tunnels, you'll mostly be using the standard SSH tools that come with your Raspberry Pi's operating system. These are tried and true, and very reliable for creating secure pathways. The main thing here is to make sure your SSH keys are set up correctly and that your server in the VPC is configured to accept connections from your Pi in a safe way. It's a bit like setting up a secret handshake, honestly.
When picking a cloud provider for your free VPC, look at their free tier offerings. Services from companies like Amazon Web Services (AWS), Google Cloud Platform (GCP), or Oracle Cloud Infrastructure (OCI) often have generous free options that include a small virtual machine, some network traffic, and even a bit of storage. These free resources are usually more than enough to host your VPN server or tunnel endpoint for a single Raspberry Pi project, which is very convenient, too.
Making Sure Your Raspberry Pi Stays Securely Connected
Getting your Raspberry Pi securely connected to your VPC is one thing, but making sure it stays that way is just as important. Think of it like keeping a car running well; you can't just fill it with gas once and expect it to go forever. You need to do regular checks and tune-ups. This applies to how you securely connect remote IoT VPC Raspberry Pi free, you know.
One key thing is to keep your Raspberry Pi's software up to date. This means regularly checking for and installing updates for its operating system and any programs you've installed, especially your VPN or tunneling software. Software updates often include fixes for security weaknesses, and staying current helps protect your device from new threats. It's a simple step, but a very effective one, so.
You also want to keep an eye on your connection. Sometimes, internet connections can drop, or your cloud provider might do maintenance that briefly interrupts things. Having a way for your Raspberry Pi to automatically try to reconnect if the secure link breaks is a really good idea. There are scripts and tools you can set up on your Pi that will constantly check the connection and restart it if it goes down, which is pretty handy, honestly.
Lastly, regularly review who has access to your Raspberry Pi and your VPC. Make sure you're using strong, unique passwords or, even better, secure keys for access. If someone leaves your team or no longer needs access, remove their permissions. It's about making sure only the right people can get in, and that those people are using the safest ways to do so. This helps maintain the integrity of your secure setup, too.
Common Questions About Connecting Your Raspberry Pi to a VPC
People often have similar questions when they start thinking about how to securely connect remote IoT VPC Raspberry Pi free. It's natural to have a few things on your mind when you're setting up something new, especially when security is a big part of it. Let's try to clear up some of those common thoughts, you know.
A frequent question is about the speed of the connection. Will running a VPN or tunnel slow down my Raspberry Pi too much? For most IoT tasks, like sending sensor readings or small commands, the impact on speed is usually very small. The Raspberry Pi is capable enough to handle the encryption and decryption without much trouble. If you're trying to stream high-definition video, then yes, you might notice a difference, but for typical IoT, it's usually fine, so.
Another thing people wonder about is how much data this kind of setup uses. The actual data used by the VPN or tunnel itself is pretty minimal; it's mostly the data your Raspberry Pi sends and receives for its actual job that counts. The free tiers of cloud providers usually give you enough data transfer to handle many small IoT projects without going over your free limits, which is very helpful, honestly.
Some folks ask if this setup is truly "free" forever. For the most part, yes, if you stick to the free tiers and open-source software. However, cloud providers can change their free tier offerings, so it's a good idea to occasionally check their terms. For most personal or small-scale projects, the free options remain a great way to operate without cost for a very long time, too.
People also want to know if they need special network knowledge. While some basic understanding of networks is helpful, many online guides walk you through the steps. You don't need to be a network expert to get this working, especially with the simpler tools available. It's more about following instructions carefully and being willing to learn a little as you go, which is pretty common for these kinds of projects.
What Are the Best Practices for Securely Connecting Remote IoT VPC Raspberry Pi Free?
When you're aiming to securely connect remote IoT VPC Raspberry Pi free, there are a few good habits that can make a big difference in how safe and smooth your setup runs. These aren't complicated rules, just smart ways to go about things that help keep your devices and data protected, you know.
First off, always use very strong passwords for your Raspberry Pi and any accounts related to your cloud services. Passwords should be long, include a mix of different characters, and be unique for each account. Better yet, use what's called "SSH keys" for connecting to your Pi and your cloud server; they're much harder to guess than passwords. It's about building a really tough lock on your digital doors, so.
Secondly, only open the network ports that are absolutely necessary on your VPC and Raspberry Pi. If you're using a VPN, you only need the VPN port open. If you're using SSH, just the SSH port. Every open port is a potential way for someone to try to get in, so keeping them closed unless needed reduces your risk. It's a bit like closing all the windows in your house when you leave, just in case, honestly.
Also, regularly check the logs on your Raspberry Pi and your VPC server. Logs are like diaries that record everything that happens on your system. Looking at them now and then can help you spot anything unusual, like failed login attempts or strange network activity. Catching problems early can prevent bigger issues down the line, which is very helpful, too.
Finally, consider using a firewall on your Raspberry Pi itself. Even though it's connected to a secure VPC, an extra layer of protection on the device can't hurt. A firewall can control what information goes in and out of your Pi, adding another barrier against unwanted access. It's about having multiple lines of defense, just in case one isn't enough, you know.


Detail Author:
- Name : Rachelle Streich
- Username : humberto74
- Email : imaggio@hotmail.com
- Birthdate : 1989-08-04
- Address : 289 Deontae Knolls Suite 796 Alvisborough, LA 68999
- Phone : +1-283-904-2037
- Company : Goldner and Sons
- Job : Extraction Worker
- Bio : Quis corporis odit repellendus mollitia eum officiis aut. Ipsa eius quasi id voluptate veniam explicabo. Qui repudiandae corporis voluptatem error.
Socials
linkedin:
- url : https://linkedin.com/in/kmedhurst
- username : kmedhurst
- bio : Commodi eligendi voluptatem vel.
- followers : 1478
- following : 541
facebook:
- url : https://facebook.com/kaylah.medhurst
- username : kaylah.medhurst
- bio : Ut sed eveniet expedita beatae repellendus. Quidem impedit debitis rerum.
- followers : 2740
- following : 953
instagram:
- url : https://instagram.com/kaylah_medhurst
- username : kaylah_medhurst
- bio : Quisquam aperiam omnis assumenda dolorum itaque sunt. Nihil hic harum libero magnam sed reiciendis.
- followers : 2608
- following : 2310
twitter:
- url : https://twitter.com/kaylah7653
- username : kaylah7653
- bio : Earum maiores libero est ut. Laborum sit sed id dignissimos. Iure eum perferendis voluptatibus rerum ut voluptas et similique.
- followers : 1023
- following : 1565
